Terminology
- True Course
Course relative to true north. You can get this from a sectional chart and straight edge drawing tool. - Magnetic Course
Course relative to magnetic north. FlyBaby always computes and displays the magnetic course to aid in navigation. - Magnetic Heading
Magnetic course with wind correction. FlyBaby does not have access to winds aloft data. Therefore, expect to add your own wind correction factor to given magnetic courses while using the app. - Compass Heading
Magnetic heading corrected for cockpit compass magnetic deviation. If you use a whiskey compass for navigation, you probably are aware of deviation error and must correct for it.
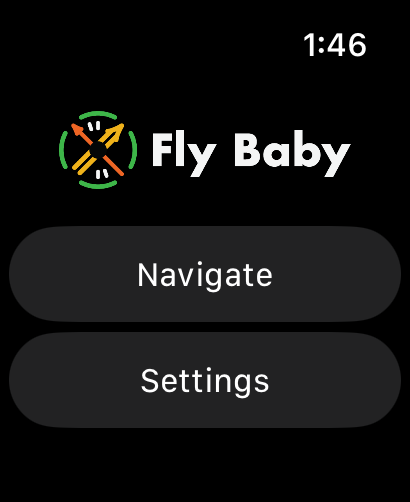
Home Menu
The first screen upon opening the app is the home menu. From here, the two options are to begin navigating or to adjust settings.
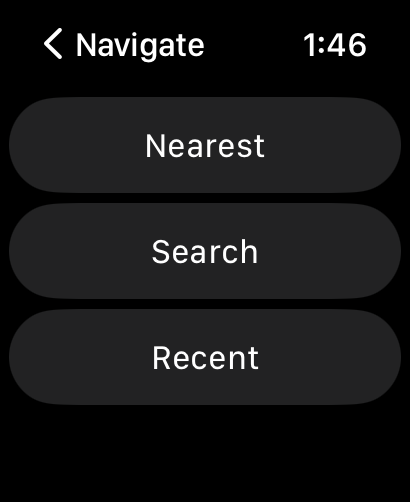
Navigate Menu
The Navigate menu contains options for finding a destination. A destination can be found through the Nearest menu, Search menu or Recent menu. For the Search and Nearest menus, only the North America region is enabled by default. More regions can be enabled in the Settings > Regions menu.
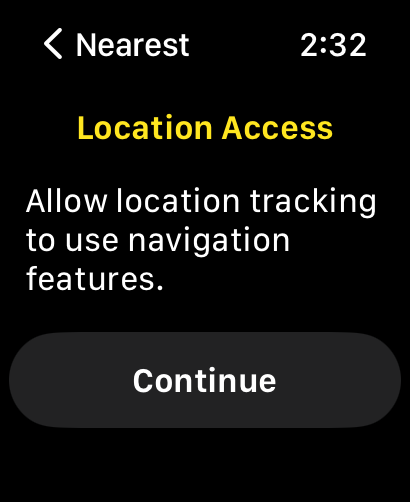
Location Access
Before accessing the menus, the application will prompt for location access. GPS location is needed in order to use any navigation features. In order to save device battery and storage, device location is not stored or tracked outside of using the navigation features.
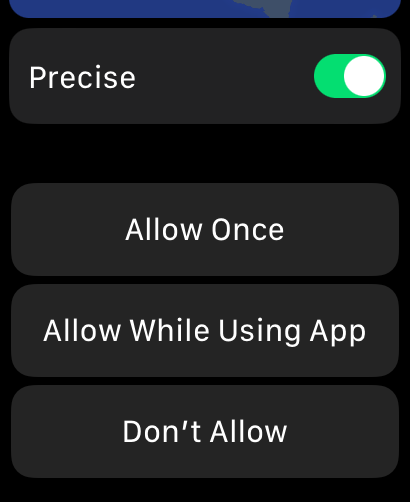
Ensure the “Precise” option is enabled, otherwise enroute navigation will be unreliable. It is only necessary to select “Allow While Using App” as an option, as the location is not tracked in the background.
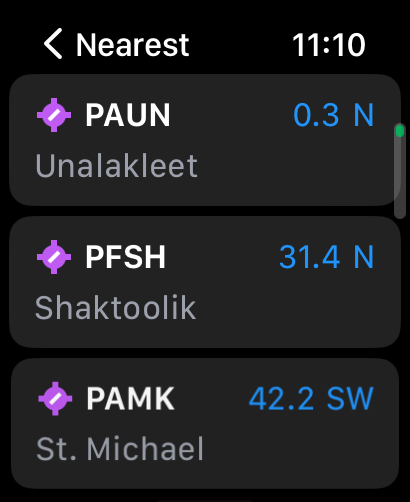
Nearest
The Nearest menu will use the device’s current location to display a list of 20 nearby landing destinations. Once the device location has been determined, the list shows the destination identifier, name and current bearing. Destinations are ordered by their distance to the device’s location. In the example below, Unalakleet Airport is located 0.3 nautical miles to the north of the device’s location. Begin navigation by tapping a destination.
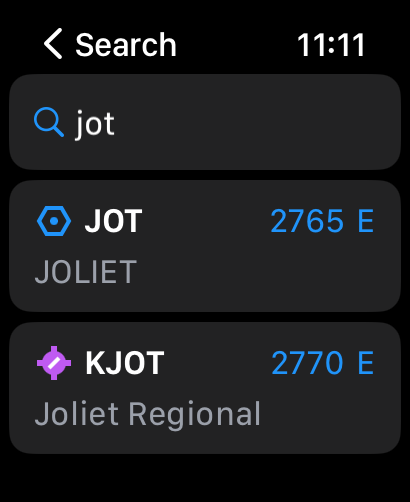
Search
The Search menu enables searching for a destination by manual text entry or dictation. Tap the search input to bring up the watchOS keyboard. Search results include landing destinations and navaids such as VORs and NDBs when enabled. Navaids are not included in results by default. This can be changed in the search settings menu (Settings > Search). Destinations are ordered by their distance to the device’s location.

Search for a destination by its identifier or name, e.g. “JOT” or “Joliet.”

Try using the watchOS dictation feature (a.k.a. Siri, see the microphone icon on the bottom right of the keyboard) to speak a destination.
Recent
The Recent menu will show the last 10 destinations to which the device has navigated.
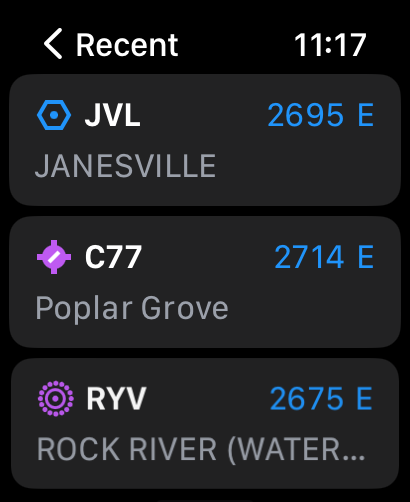
The above illustration displays various icons associated with the destination. The above icons indicate (from top to bottom), a VOR destination, landing destination and NDB destination. Use the icons to differentiate between similarly named or co-located destinations.
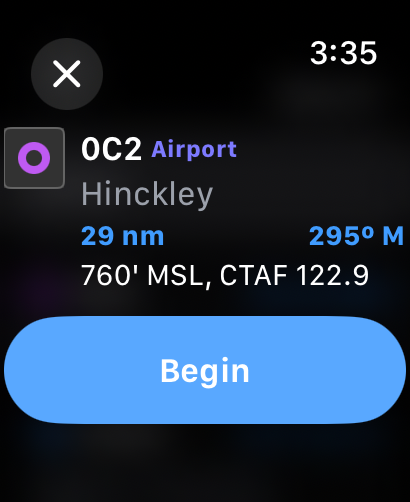
Navigating
Tap any destination to begin navigation. Fly Baby will confirm the destination before displaying the flight instruments.
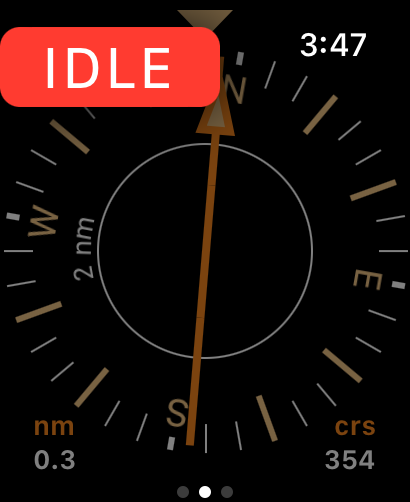
Instruments Idle
Occasionally, the flight instruments will show an “IDLE” flag to indicate that the instruments are no longer receiving updates. This is due to power-saving features built into the Apple Watch. Tap the screen or raise the device up to mid-chest as if checking the time to bring instruments back from idle.
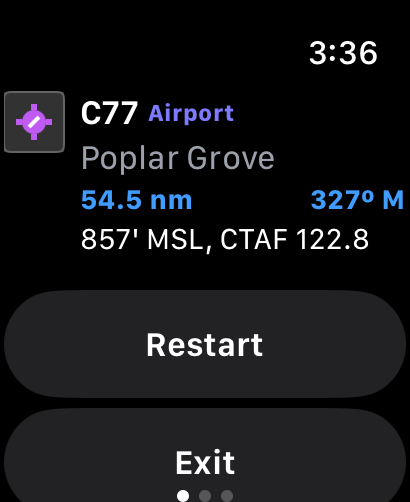
Navigation Options
Swipe one screen to the left to view the navigation options. Some destination info such as the CTAF or AWOS frequency is included for convenience. The two options are to Restart or Exit. Tapping Restart will re-center the course on the flight instruments, useful in cases where the pilot does not intend to use the original course and needs to recalculate a direct course to the destination. Tapping Exit will return to the Navigate menu.
Instruments
Fly Baby includes two instruments for navigation: the horizontal situation indicator (HSI) and the radio magnetic indicator (RMI). These instruments are historically controlled by tuning in to ground-based radio signal. However, Fly Baby uses satellite-based GPS signal to update the instruments, but with all the familiar indications. GPS on the Apple Watch can become unreliable if the device does not have clear access to the sky, e.g. when the pilot is surrounded by metal save for a front-facing window. Because of this, Fly Baby is not intended to be used as the primary or sole means of navigation. However, for low-altitude cross-country flights or flights in the practice area, Fly Baby can be a great supplement to visual navigation.
The HSI Instrument

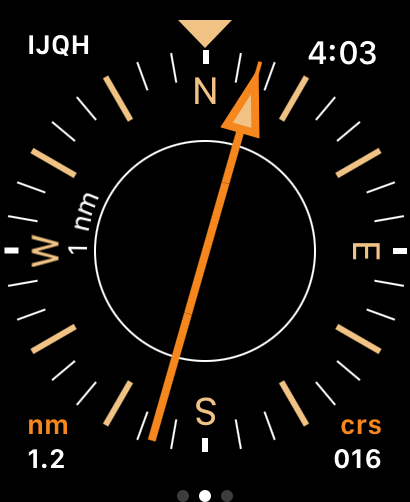
The HSI instrument is capable of showing the device’s direct course to the destination, distance to destination, cross-track error, current heading or ground track. As soon as navigation begins, the flight computer draws a direct course to the destination, and gives indications to keep the pilot on that course until reaching the destination. The main dial represents the aircraft heading or ground track, and direct course to the destination. The inner white ring represents the maximum amount of cross-track deflection. The default cross-track deflection is two nautical miles. Adjust the maximum cross-track deflection by rotating the digital crown.
When on a long cross-country flight, set the maximum cross-track deflection to five nautical miles by rotating the digital crown. This will give the pilot a more forgivable margin to be a little off course. When nearing the destination and looking for the airport, set the maximum deflection to one or two nautical miles.
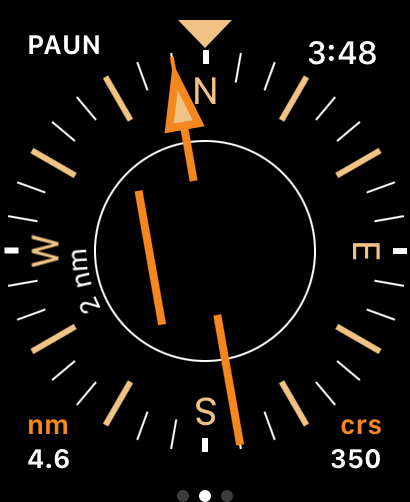
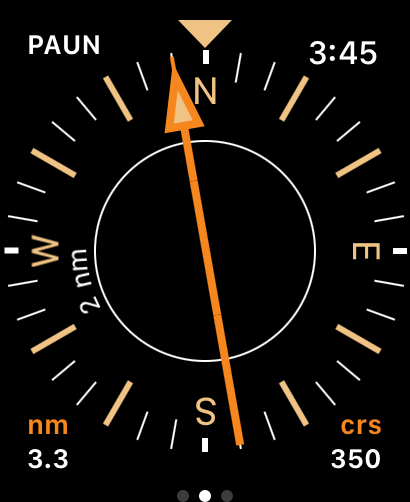
When the pilot is off course, the main needle becomes deflected either to the left or right, as shown in the first illustration below. This is an indication of the current cross-track error. It means the pilot should correct their course in the direction of the deflection in order to center the needle. In the first illustration below, the pilot is about one nautical mile to the right of the course. To center the needle, the pilot needs to continue on their current heading for about one nautical mile, then make a right turn to heading 350º and intercept the course, as depicted in the second illustration. This is a technique known as “chasing the needle.” When the needle drifts off to the left of the course, the pilot must steer a little to the left to get it back to centerline.
The displayed "heading" is based on the device's current orientation when static or ground track when moving. It may not immediately coincide with the actual aircraft heading. For instance, if the pilot's wrist is resting in their lap while on the ground, the heading might indicate whatever direction the wearer's wrist is pointed. The heading is meant to be read as the pilot brings their wrist up to their chest as if checking the time. Once available, the ground track or device heading will be displayed as a "lubber line" readout at the top of the instrument view.
Once the course needle is centered, keep the ground track the same as the displayed course. This will ensure the minimal amount of drift off course. Once the destination has been overflown, either directly over or abeam, the needle will spin to the opposite of the original course, indicating that the aircraft is now on a back course. Similar to a traditional HSI, the cross-track portion of the needle will still give accurate left and right course deflections relative to the original course, i.e. it will not require “reverse sensing.”
A great navigation technique is to combine the use of the HSI and pilotage. Once the needle is centered, look out in front of the aircraft at a distant static object that is directly in the path of the aircraft, e.g. a water tower on the horizon, NOT a cloud. Fly toward the object, and avoid checking the HSI again until reaching the object. When near the object, check the course again for any cross-track error, and make any necessary corrections. Rinse and repeat. This will keep the pilots eyes outside the aircraft, able to scan for traffic, and help them match the course on the instrument to the course in the air.
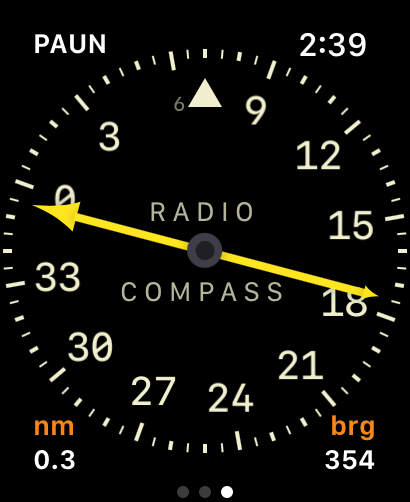
The RMI Instrument

The RMI instrument operates similarly to the HSI, but only shows the current bearing to the destination without following a specific course. Think of it as a compass that points to a destination instead of north, based on the device’s magnetic heading. Swipe one screen to the right to access the RMI. The outer dial displays the current heading relative to the device’s orientation. The needle points to the direct course TO the station at all times.
Settings Menu
The settings menu enables adjustment of the search and region settings. It also displays metadata about your FlyBaby build. The navigation database is updated along with regular app updates.

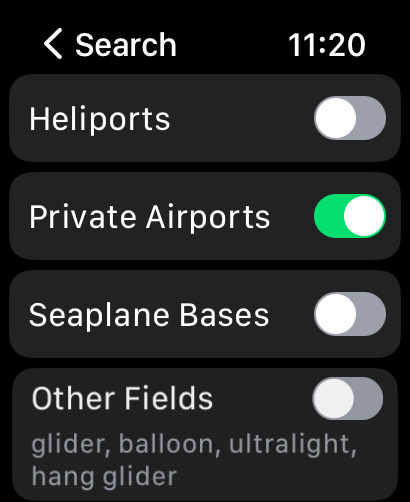
Search Settings
By default, search results will include only landing destinations. The search can be expanded to include different types of destinations and navaids.
| Setting | Description |
|---|---|
| Heliports | Enables heliports for search |
| Private Airports | Enables private airports for search |
| Seaplane Bases | Enables seaplane bases for search |
| Other Fields | Enables gliderports, balloonports, ultralight fields, and hang glider fields for search |
| VORs | Enables localizers and navigational aids: VOR, VOR-DME, DME, VORTAC, TACAN for search |
| NDBs | Enables NDBs, outer markers and marine beacons for search |
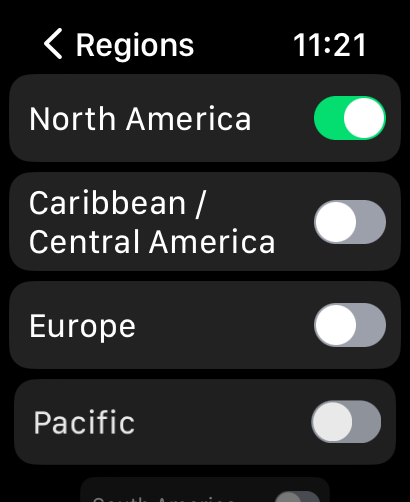
Regions Settings
By default, the Search and Nearest menus will return only results from North America. This can be expanded to the entire world using the settings below. No network connection is necessary to enable another region.
| Region | Notes |
|---|---|
| North America | Includes destinations from:
|
| Caribbean / Central America | Includes destinations from:
|
| Europe | Includes destinations from:
|
| Pacific | Includes destinations from:
|
| South America | Includes destinations from:
|
| Africa / Indian Ocean | Includes destinations from:
|
| Asia | Includes destinations from:
|